
Walaweh.
Rindu nak ber blog. Mungkin faktor usia menjadi penyebab utama I dont blog as much.
Masa juga salah satu punca tulisan tak lagi sekerap dahulu.
Ok back to topic. Harini I nak share useful tips untuk user yang tak nak buang duit bayar kedai gambar passport. 4 keping RM16. What the..?
What you need? Please refer to Step-by-Step below:
1. Smartphone with internet access.
2. Download apps : PicsArt
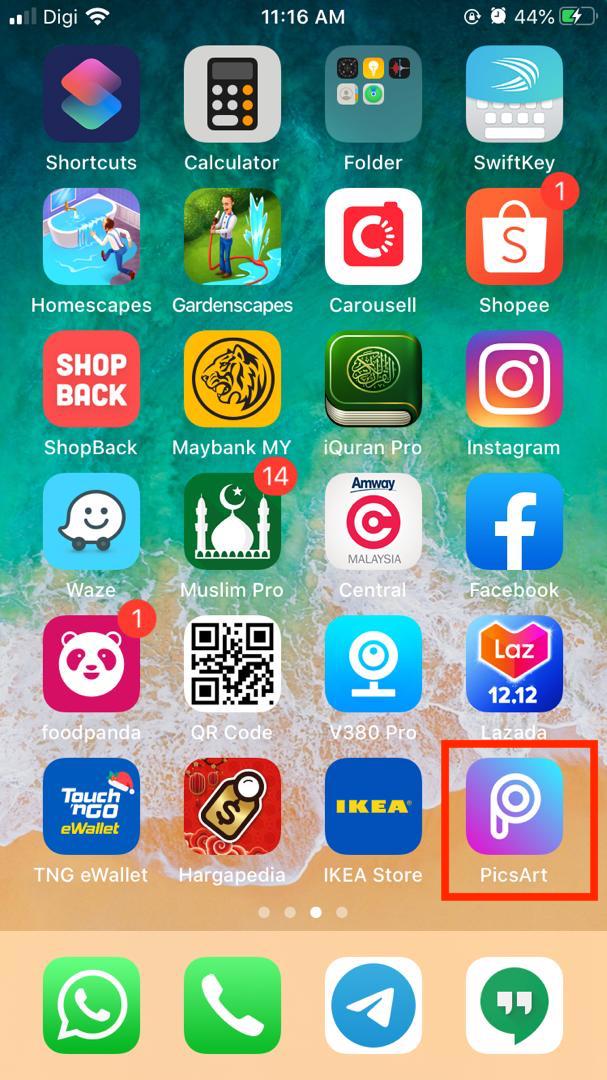
4. Now open your PicsArt app. Choose the picture you took as per no (3).

Oh this is Adhwa by the way. My 1st born. Shes 7 this year.
5. Now after you choose the picture for passport purpose, choose Cutout.
6. Now press your fingertips on the picture, draw a line as below:


9. Now go back to Home app below and click + sign.

10.You can see the picture that you have just cropped and saved as per no (8).

11. Scroll down a bit and choose your Color Backgrounds. In this case, choose light blue color.

11. Your phone will look like below (if you chose blue):

12. Now click on Add Photo and choose the picture that you took and cropped earlier.


13. Now all you need to do is adjust the size accordingly.
14. Click Apply and Save.
Now you just need to save the file to usb ke, and print at any kiosk you like.
There you go.